
Cold Email Deliverability
Improve Email Deliverability for Cold Outreach With a Weekly System That Protects Domain Health
Adrian NguyenJul 7, 202610 min read
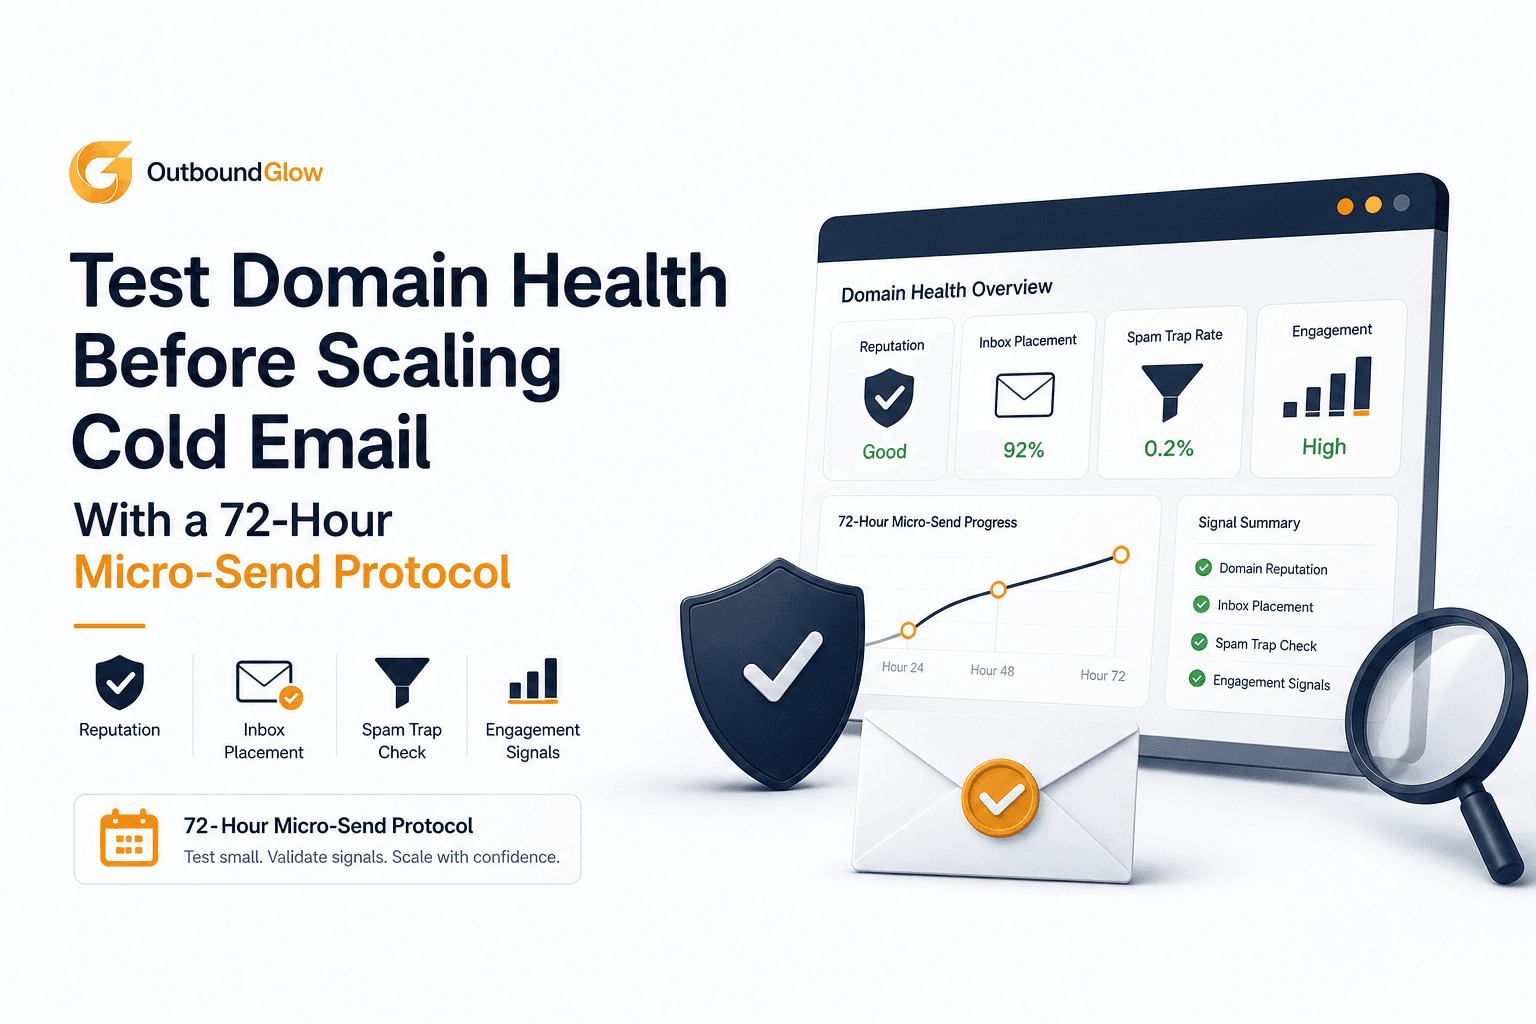
If your cold emails suddenly start landing in spam, scaling too early is usually the trigger. The safest way to avoid that is to test domain health before you increase volume, using a controlled micro-send that surfaces early warning signals like bounces, spam placement, and negative engagement.
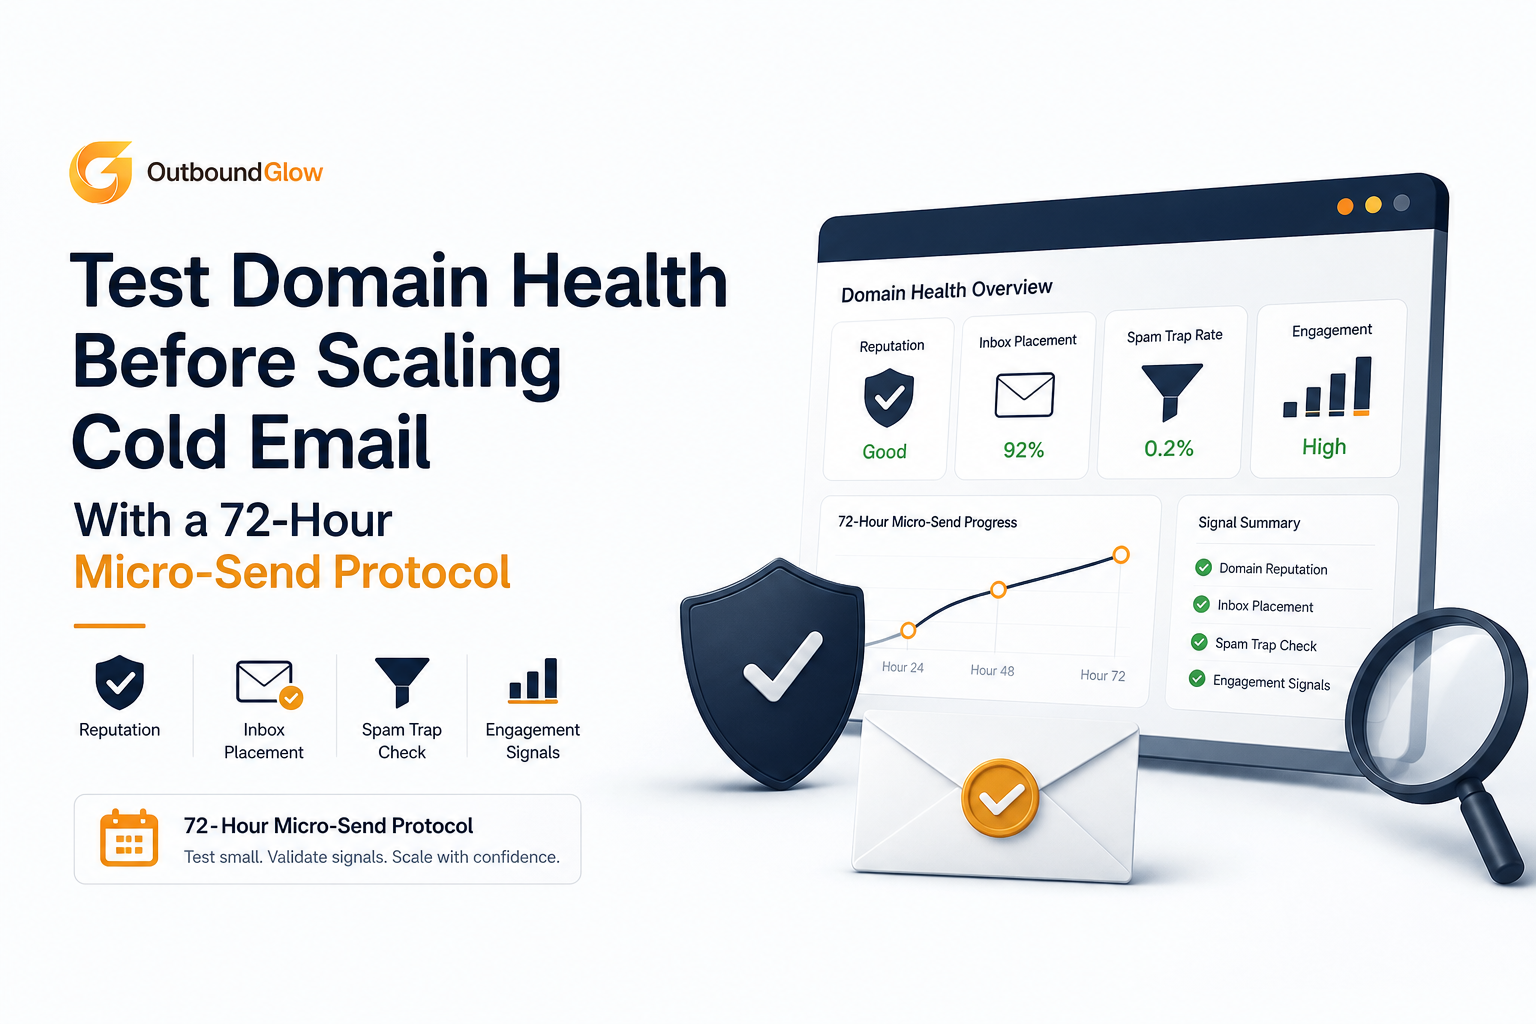
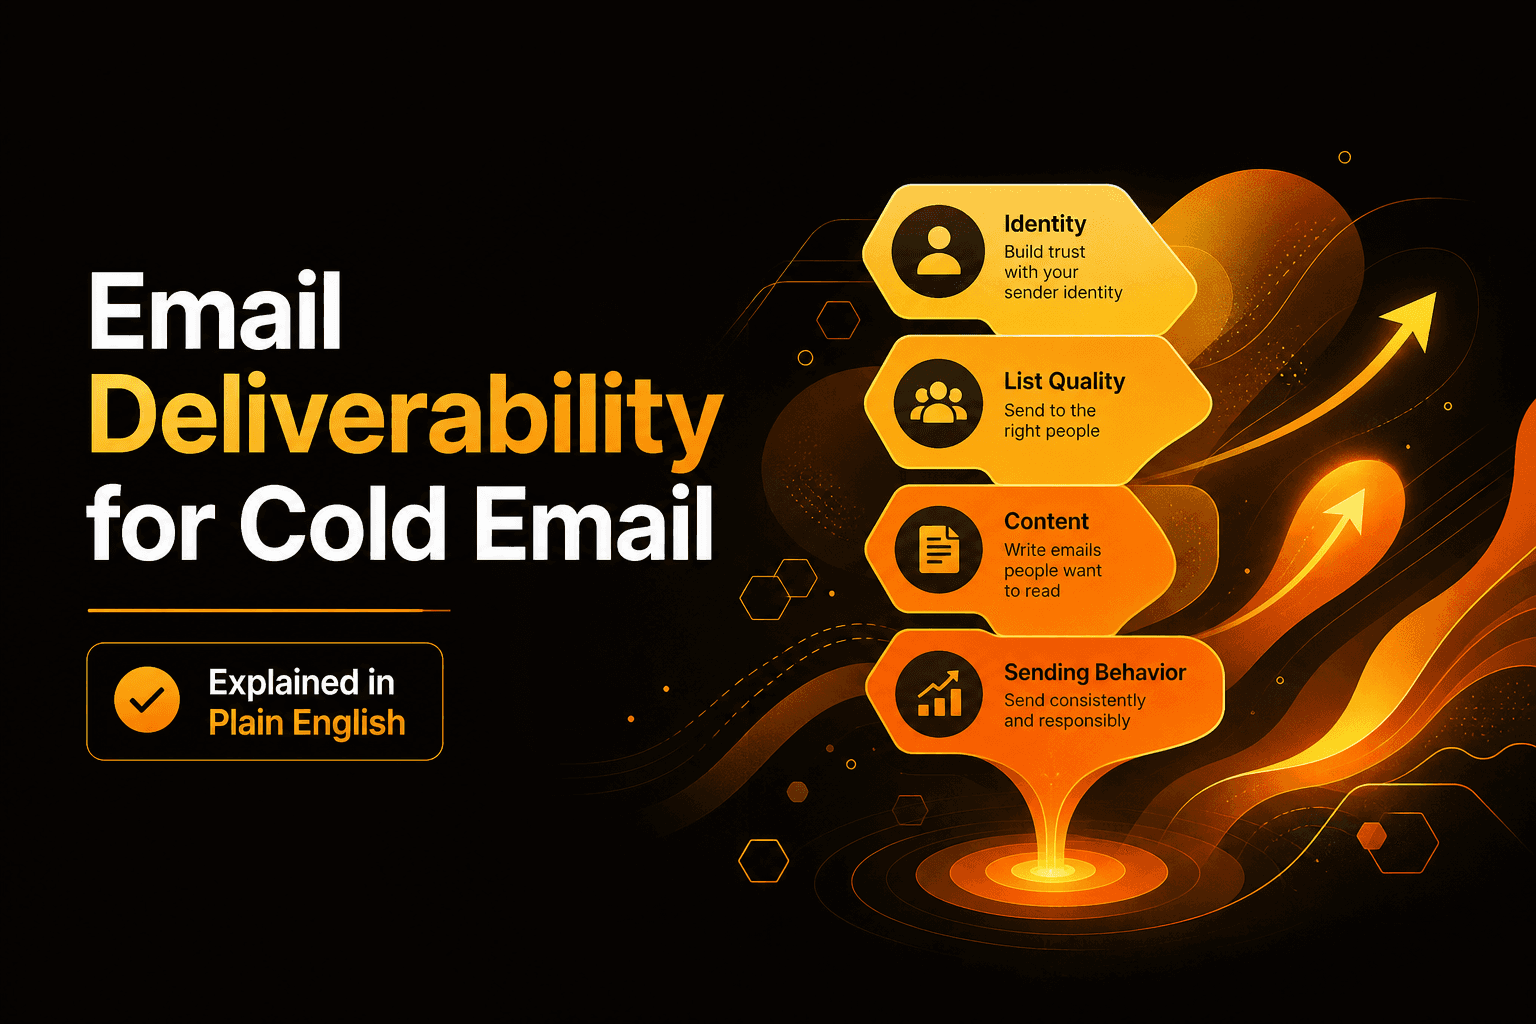
When people say “domain health,” they often mean “are my emails landing in inbox?” But to test domain health properly before scaling, you need to separate four different layers of risk. Each layer has its own signals and its own remediation path.
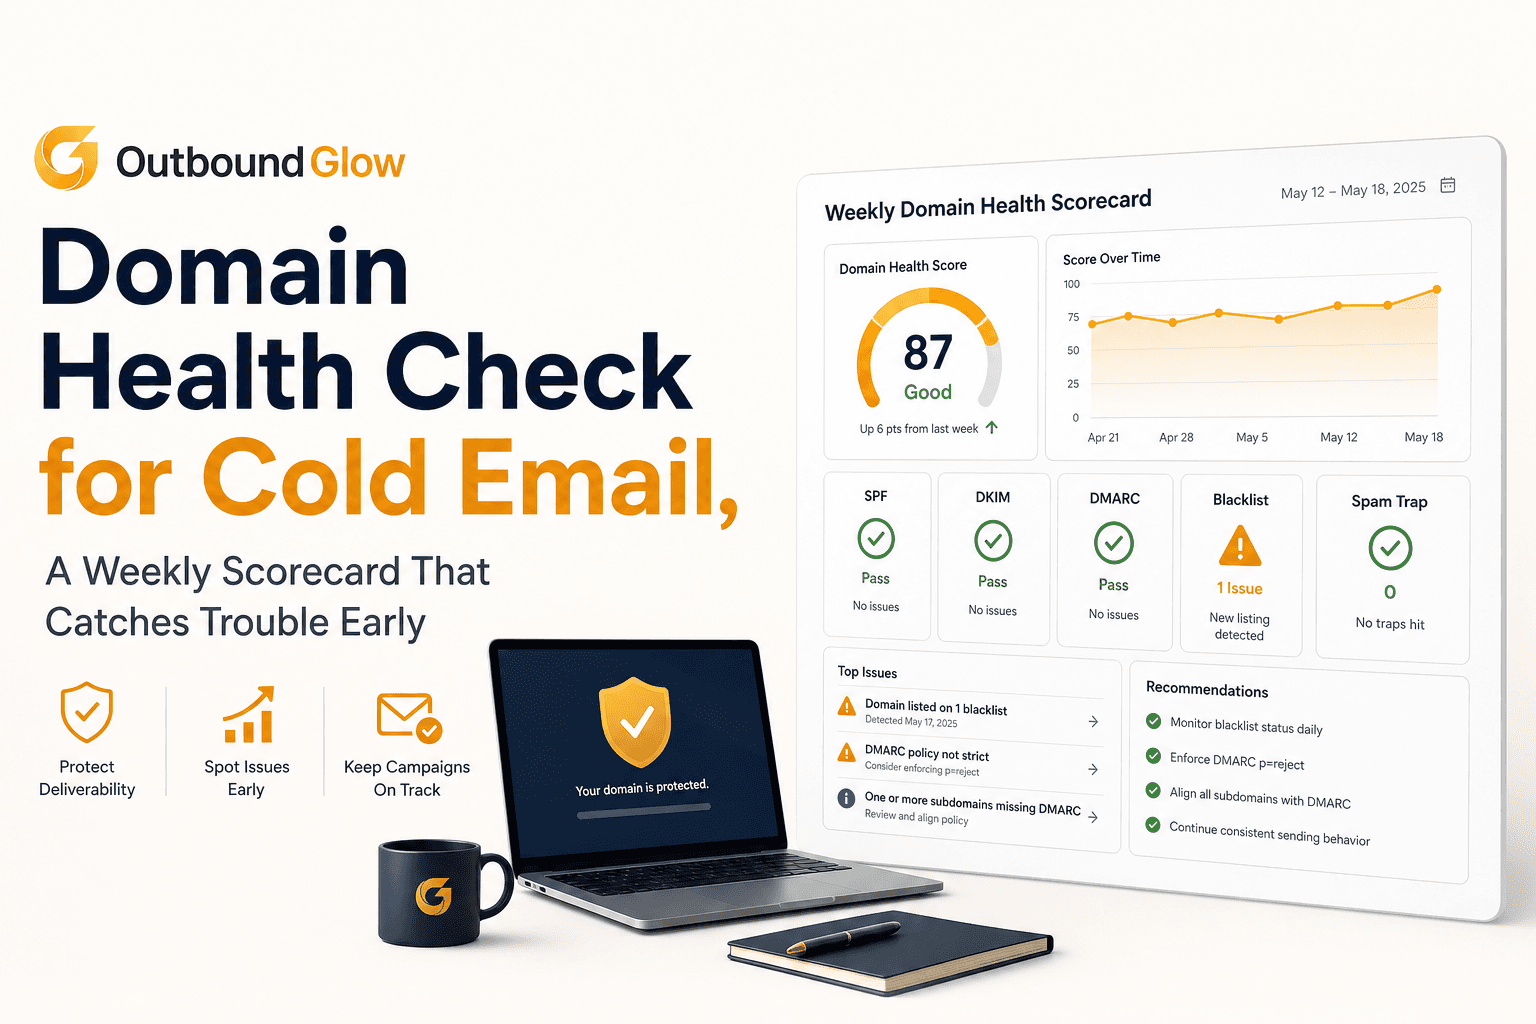
These are table stakes. If you micro-send without stable authentication, you can get misleading results because failures look like “content issues” when they are really DNS issues. If you need a recurring checklist for this layer, use a weekly domain health check scorecard, but the micro-send protocol below is specifically for pre-scale go/no-go decisions.
Before content or cadence matters, mailbox providers look at whether you send to real, reachable addresses. High bounces are a “bad sender” signal. This is why bounces are the cleanest early indicator when you test domain health with small volume.
Benchmarks depend on your stack and list source, but for cold email you generally want:
If you want a precise breakdown of what counts as hard vs soft and why it matters, see bounce rate definition.
Spam placement is not just “did someone open.” It is where providers route your message by default. Complaints are even stronger: if recipients hit “Report spam,” that is a direct negative reputation signal.
In a pre-scale test, you are looking for:
Opens have become less reliable due to privacy changes, but engagement still matters. Think of engagement as “did recipients behave like they wanted this email?” Positive signals include replies and forwards. Negative signals include deletes without reading, no opens across multiple touches, and unsubscribes.
For cold outreach, the most actionable micro-send engagement metric is reply rate (even negative replies count as engagement). If you are new to deliverability concepts, this plain-English guide to email deliverability helps you interpret these signals without overfitting to one metric.
This protocol is designed to answer one question: “Can I safely increase volume on this domain and mailbox setup without triggering filtering?” It uses controlled volume, controlled targeting, and instrumentation that lets you see problems early.
Send 20 total emails split like this:
Rules for the control batch:
At this point you are not judging “performance.” You are judging “risk.” Check:
If Day 1 is clean, increase volume modestly. Send 40 to 60 emails total:
Keep everything else constant: same sending domain, same mailbox, same general copy structure, similar send times. The goal is to test domain health under slightly more load without introducing new variables.
Some filters treat a follow-up differently from a first touch, especially if the first email was ignored. On Day 3:
This is where you often see the first signs of trouble: a follow-up that suddenly lands in spam for seeds even if the first email did not. If that happens, you likely have a reputation or content pattern issue, not just a list issue.
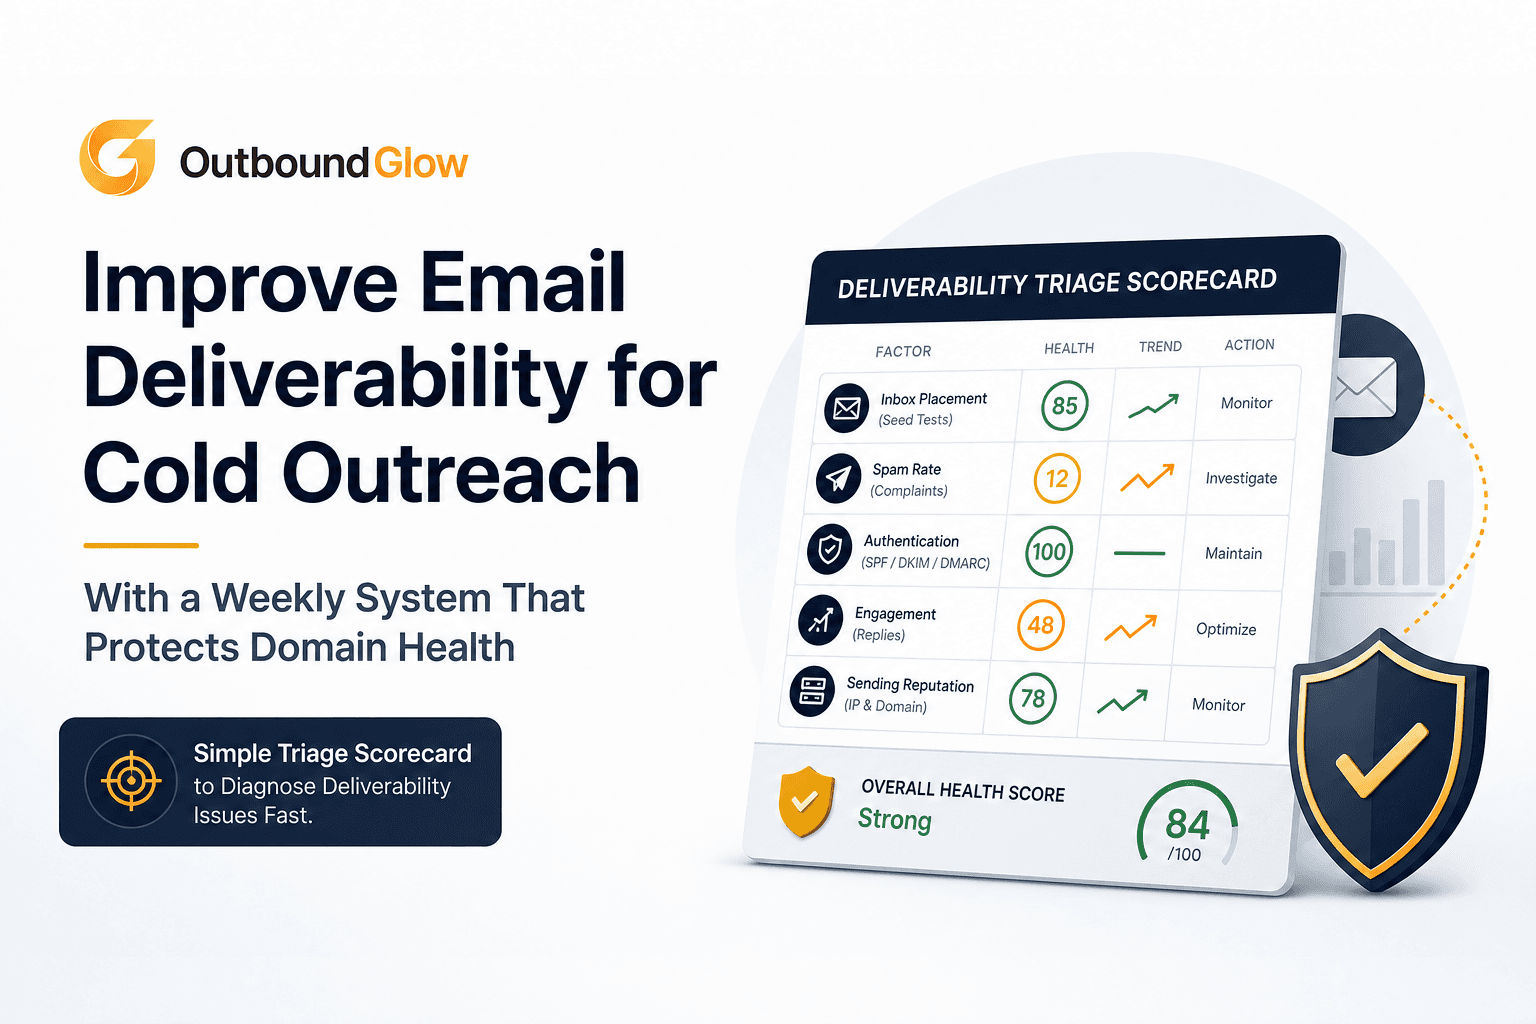
Micro-sends only work if you decide in advance what “pass” and “fail” mean. Below is a practical decision system you can use immediately.
Use the failure signal to choose the fix. Otherwise you waste days rewriting copy when the real problem is list hygiene.
To keep this practical, here is a quick workflow you can run at the same time each day during the 72-hour window. It prevents “panic changes” that invalidate your test.

| Signal | What to measure during micro-send | GO | CAUTION | NO-GO | Primary fix path |
|---|---|---|---|---|---|
| Hard bounce rate | Hard bounces / emails sent | < 2% | 2% to 3% | > 3% | Re-verify list, remove risky domains, tighten targeting |
| Seed spam placement | % seed inboxes landing in spam (by provider) | 0% across major providers | Spam in 1 provider | Spam in 2+ providers | Simplify template, check auth alignment, reduce volume, warm up |
| Complaints | Spam complaints (any) | 0 | N/A | ≥ 1 | Stop, tighten ICP, rewrite value prop, add clearer opt-out language |
| Unsubscribes | Unsubscribes / delivered | Near 0 | Noticeable spike vs baseline | Repeated spike across segments | Segment narrower, improve relevance, reduce frequency |
| Replies | Any replies from prospects | Some replies (any sentiment) | None, but placement clean | None plus spam placement issues | Iterate messaging if placement clean; fix deliverability if not |
If you want a broader framework for scaling sequences without damaging reputation, this guide on cold outreach automation complements the micro-send protocol by covering guardrails once you move beyond testing.
For industry standards on authentication and DMARC alignment, you can cross-check guidance from DMARC.org.
Run the 72-hour micro-send any time you change a major variable: new domain, new mailbox provider, new sending tool, or a big jump in volume. If nothing changed, you can re-run a smaller 24-hour version before a major campaign push.
Yes, if you want a reliable read on spam placement. Opens and replies from real prospects are noisy, but seed inboxes let you see inbox vs spam across providers under the same conditions.
Hard bounces and seed spam placement are the fastest. If hard bounces climb above 3% or multiple seed inboxes go to spam, stop and remediate before sending more.
No. Treat the micro-send like an experiment. Keep copy, tracking, and sending patterns consistent so you can attribute results to domain and reputation health rather than template changes.
If you want the micro-send approach without manual busywork, Outbound Glow can automate the controlled ramp, monitor bounce and spam risk signals, and pause campaigns when thresholds are crossed so you can scale only when your results show it is safe to test domain health and then increase volume with confidence.